How to Turn Scanned or Photographed Pages Into One PDF
The quality of a scanned document is decided at the moment you photograph it — no later step can straighten a crooked page or sharpen blurred text. Here is the whole workflow, capture first.
Choosing how to capture the pages
Three options, with a clear ranking for document work.
A flatbed scanner gives the best result. The page is flat, the lighting is uniform, the geometry is square, and the resolution is whatever you set. If you have access to one and the document matters, use it.
A phone scanning app is the realistic best option for most people, and much better than it sounds. These detect the edges of a page, correct the perspective so an angled shot becomes a rectangle, and adjust contrast so paper reads as white rather than grey. Most modern phones include this in the built-in camera or notes app. If you take one recommendation from this guide, it is to find that feature before photographing anything important.
A plain camera photo works, but you are doing the scanner's job by hand. It can be fine for a receipt and disappointing for a contract.
The capture is the one step you cannot improve later. Workbench builds a PDF from the images you provide — it does not deskew, crop, sharpen, or adjust contrast. Whatever the photograph looks like is what the document will look like, so spending an extra thirty seconds here saves redoing the whole job.
Getting the capture right
Light it evenly
Even, diffuse light is the goal. Daylight near a window, without direct sun, is excellent. The most common failure is standing under a ceiling light and casting your own shadow across the page — move so the light comes from the side, or move the page. Glossy paper adds a second problem, glare, which is solved by angling the page rather than the camera so the reflection falls away from the lens.
Shoot square to the page
Hold the camera directly above the centre, with the sensor parallel to the paper. Photographing from an angle produces a page that narrows towards one end, and once that is baked into the image, nothing in the PDF stage can straighten it. A scanning app's perspective correction handles this; a plain camera does not.
Fill the frame, and give the page contrast
Crop tightly to the paper's edges. Background is wasted resolution, and it makes page proportions inconsistent. Place white paper on a dark surface — a wooden desk or a dark folder — so a scanning app can find the edges reliably.
Check focus before moving on
Tap to focus on the text, not on the desk. Small print is unforgiving, and blur is not something you will notice on a phone screen at thumbnail size. Zoom in on one paragraph and confirm the letters are sharp before photographing the next page.
Be consistent across pages
Same distance, same orientation, same lighting for every page. Consistency matters more than perfection here, because the PDF will have pages sized from the images — mixing a close-up portrait shot with a distant landscape one produces a document with pages of different sizes.
How much resolution you actually need
Enough that the smallest text is comfortably readable, with margin for whoever prints it. The standard reference point for document scanning is 300 DPI, with 200 acceptable for clean typed text.
Using inches × DPI, an A4 page at 8.27 × 11.69 inches works out to:
| Target density | Pixels for a full A4 page | Suitable for |
|---|---|---|
| 150 DPI | 1,240 × 1,754 | Reading on screen; marginal for print |
| 200 DPI | 1,654 × 2,338 | Clean typed documents |
| 300 DPI | 2,481 × 3,507 | The general standard, including small print and signatures |
If you are photographing rather than scanning, the useful check is whether the page fills the frame. A modern phone camera can often supply enough pixels for roughly 300 PPI across a page, but only when several things hold: the page fills most of the frame, the focus is sharp, the camera's resolution is high enough, and you have not cropped heavily afterwards. Miss any of those and the figure falls quickly. Photograph a page from across the desk so it occupies a third of the frame and you have thrown away most of your resolution before you started.
Going far beyond 300 buys little for text and costs a great deal of file size. Image resolution explained covers the arithmetic if you want to work out a specific case.
Colour, greyscale, or black and white
- Colour when colour carries meaning — a signature in blue ink proving it is not a photocopy, a coloured stamp, a highlighted clause, a logo that matters.
- Greyscale for most typed documents. Noticeably smaller than colour, and it keeps the soft tonal range that makes text look natural.
- Pure black and white produces the smallest files but is unforgiving: uneven lighting turns into patches of solid black or dropped text, and faint pencil or light grey print can disappear entirely. Only use it on clean, high-contrast originals.
When in doubt, greyscale. It is the option that rarely produces a document someone has to send back.
Which image format to save
The Image to PDF tool accepts PNG and JPG only. Anything else needs converting first with the Image Converter.
For photographed or scanned pages, JPG is normally the better choice. Paper has texture, lighting is never perfectly even, and camera sensors add noise — all of which behave like photographic content, which is what JPEG handles well. PNG on a photographed page produces a very large file for no visible benefit.
PNG is right when the source is genuinely flat — a screenshot of a document, or a scan already reduced to clean black and white. The format comparison guide covers the reasoning.
One point specific to iPhones: photos are often saved as HEIC, which the PDF tool does not accept. Either export them as JPEG from your photo app, or set the camera to "Most Compatible" in the camera settings so it produces JPEGs directly.
A useful consequence of the format choice: JPEGs are embedded into the PDF with their existing compression untouched, so the document is roughly the size of your images added together. PNGs are decoded and re-compressed on the way in, which is lossless but can make the finished PDF larger than the source files. If a PDF built from PNG screenshots comes out unexpectedly big, that is why.
Building the PDF
- Open Image to PDF.
- Add your images in the order you want the pages. They become pages in the order shown on the cards, one image per page. Drag a card or use its ↑ and ↓ buttons to change the order, and rotate any sideways image.
- Choose A4 or Letter with a margin for anything that will be printed. If a file is not a PNG or JPG, it is not added and a message names it.
- Click Build PDF and download the result.
Naming files with a numeric prefix — 01.jpg, 02.jpg — before selecting them makes ordering reliable, since most file pickers hand files over in the order they are displayed.
Everything happens in your browser; the images are not uploaded to a Workbench server. For a large batch, build several smaller PDFs and combine them with Merge PDF — every image is held in memory while the document is assembled, so splitting the job keeps peak memory much lower. That is also how you attach these pages to documents you already have, which merging PDFs without uploading sensitive documents covers in more detail.
Worked example: three document images to an A4 PDF
This example uses three invented sample pages, created for this guide and free to download: a portrait letter (1,240 × 1,754 px JPG, which is A4 at 150 pixels per inch), a landscape table (1,754 × 1,240 px JPG), and a narrow receipt saved sideways on purpose (a 1,400 × 600 px PNG). They contain no real names or data.
- Inputs: sample-1-letter.jpg (114 KB), sample-2-table.jpg (142 KB), sample-3-receipt-sideways.png (28 KB)
- Settings: A4, automatic orientation, 10 mm margin. The receipt was rotated 90° clockwise and moved to the end with the ↓ button.
- Output: sample-a4.pdf (280 KB, 3 pages)
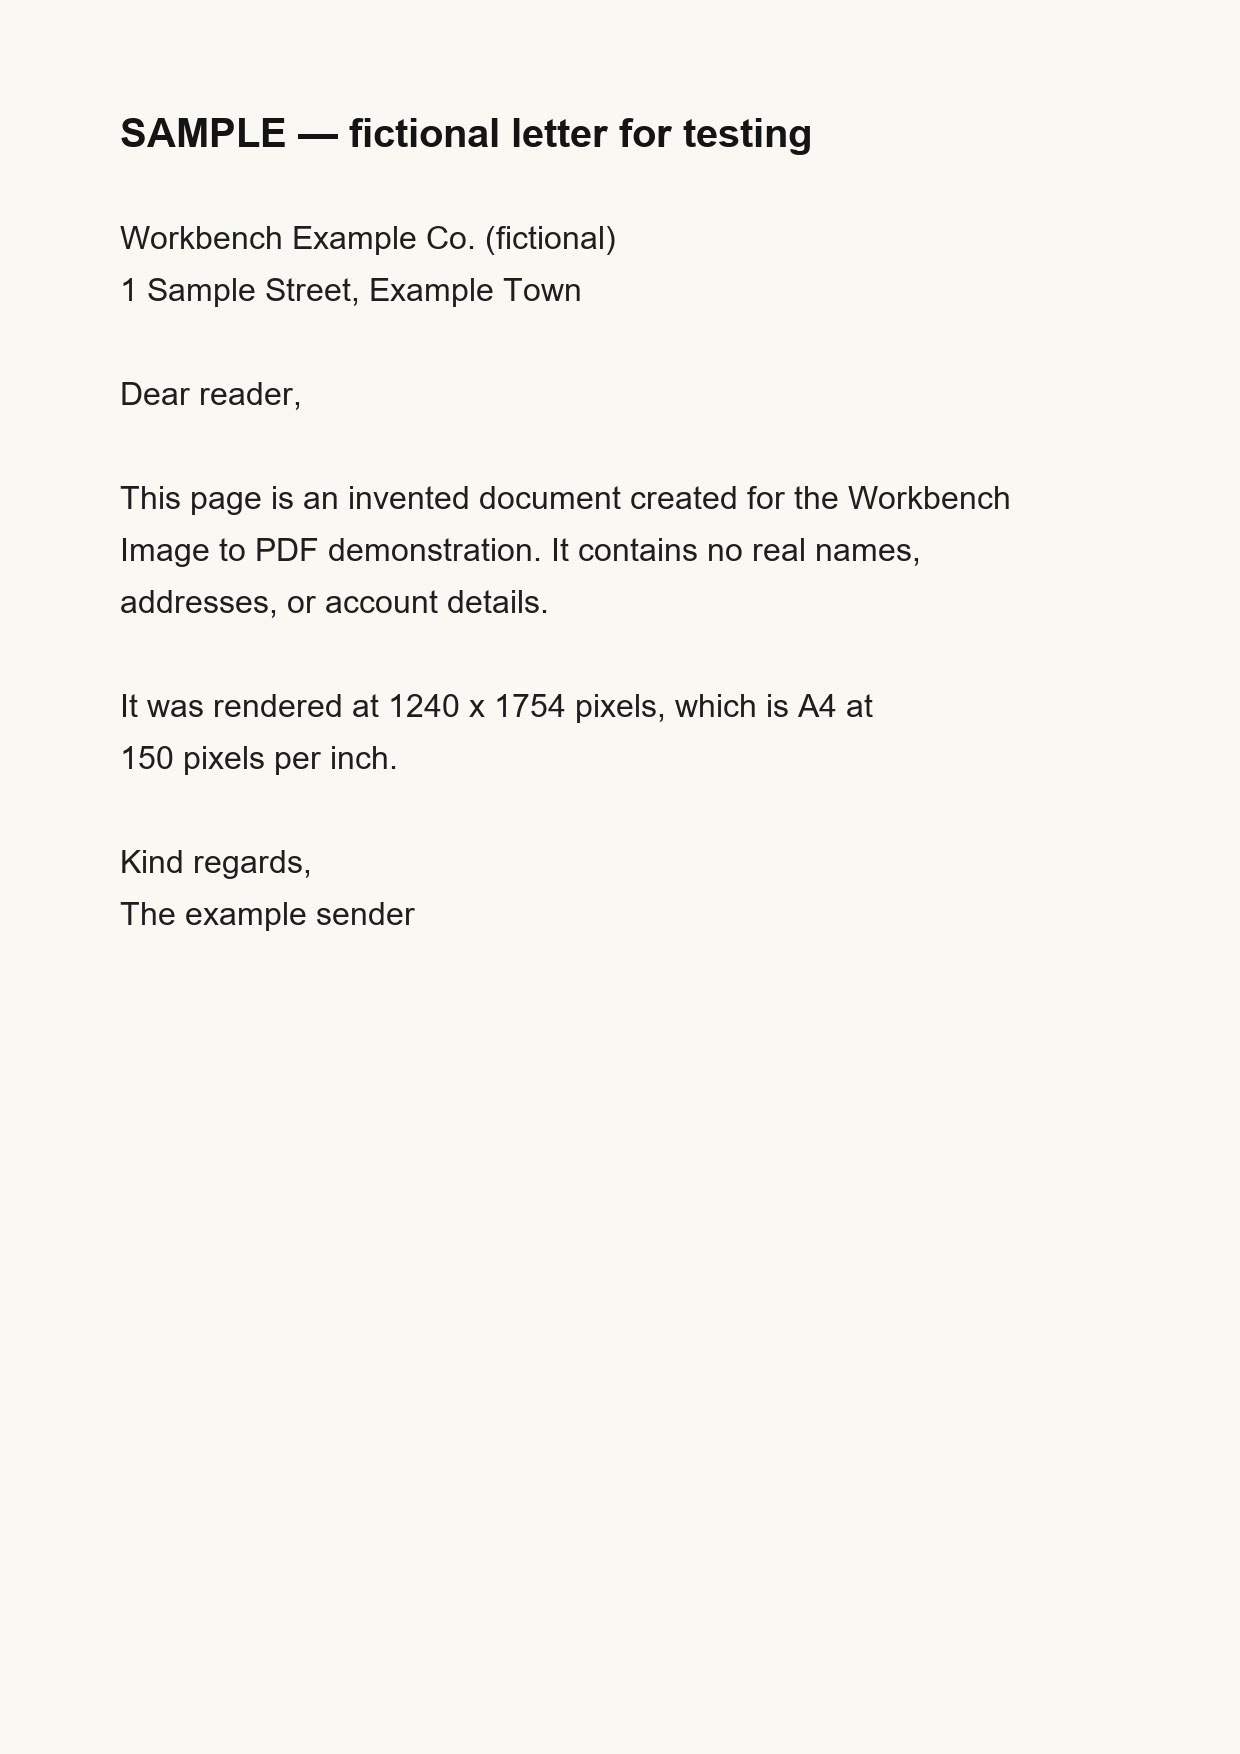
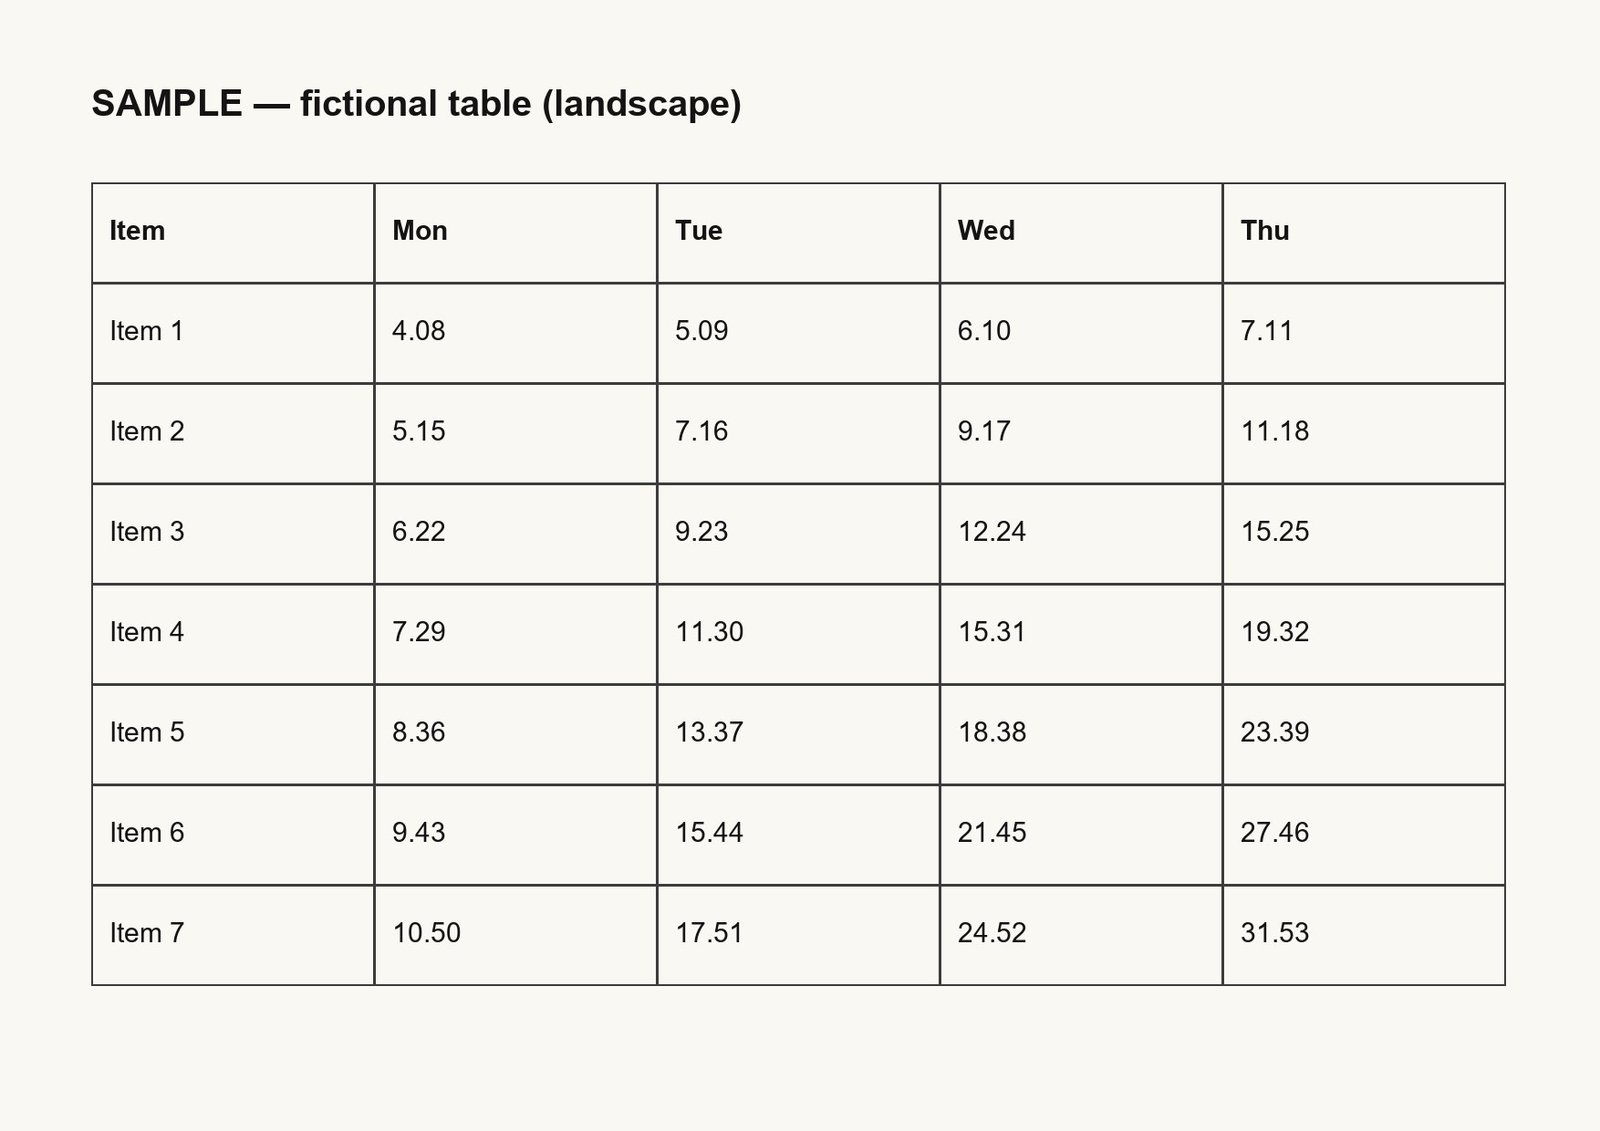
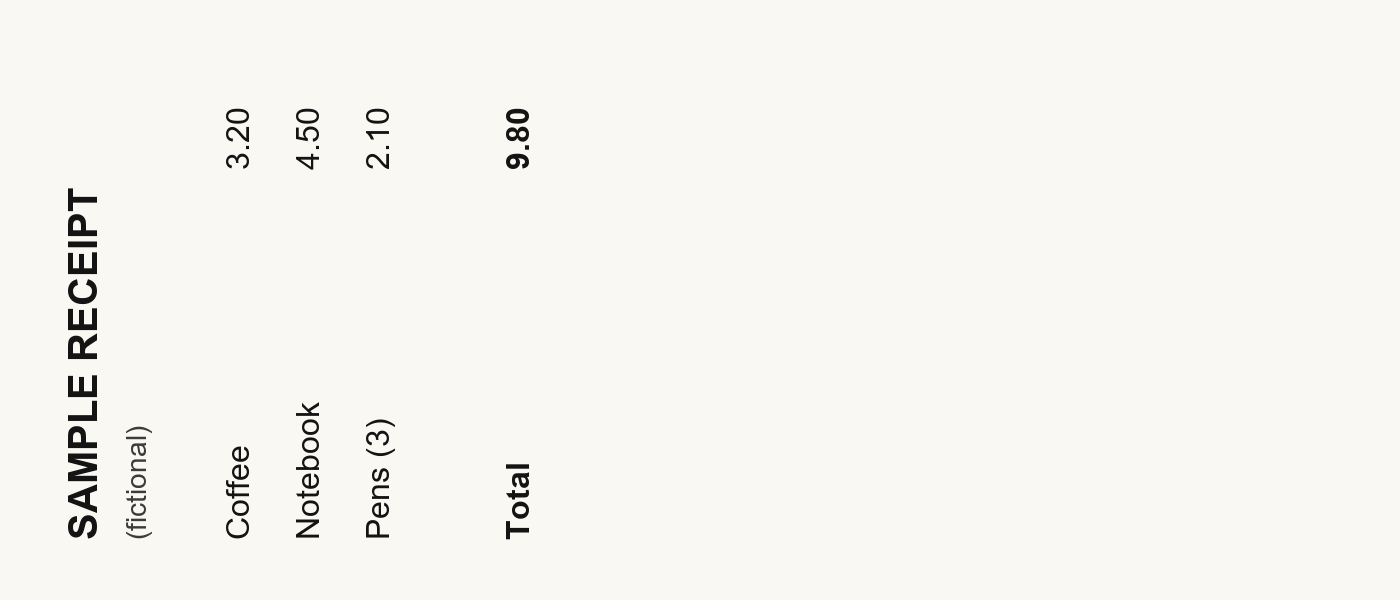
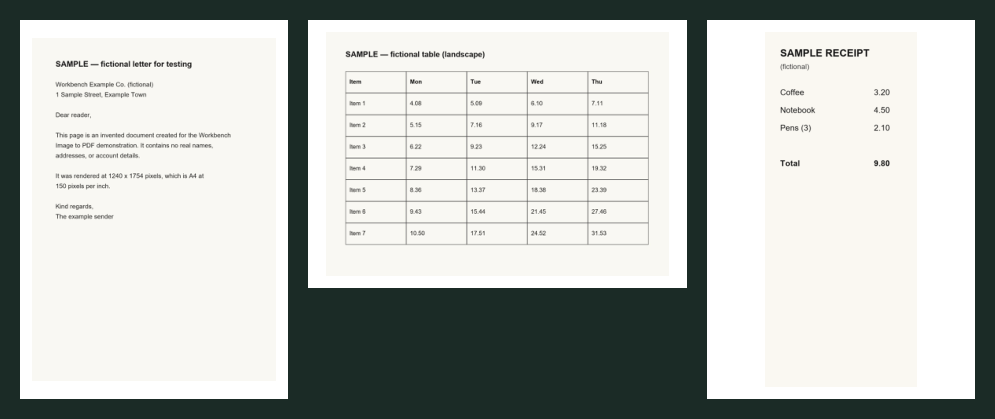
Measured from the output file (21 September 2026, built in a Chromium 152 browser engine and checked with the PyMuPDF library):
| Page | Source | Page size | Space around the image (left / top) |
|---|---|---|---|
| 1 | Letter, portrait | 210.0 × 297.0 mm | 10.0 mm / 14.1 mm |
| 2 | Table, landscape | 297.0 × 210.0 mm | 14.1 mm / 10.0 mm |
| 3 | Receipt, rotated 90° | 210.0 × 297.0 mm | 45.6 mm / 10.0 mm |
Each image touches the 10 mm margin on two sides and is centred on the other two, so nothing is cropped. The letter's proportions are almost exactly A4, so only 4 mm of extra space appears above and below it; the narrow receipt leaves wide side margins. Automatic orientation gave the table a landscape page and, after rotation, the receipt a portrait one. The JPGs were embedded unchanged, which is why the PDF is about the size of the inputs added together.
Page size and printing
With A4 or Letter selected, each image is fitted inside the margins on a standard page, which is what printers and most portals expect. With "match each image", each page is created at the image's pixel dimensions treated as PDF points (1/72 inch), so pages end up physically much larger than A4: a 2,481 × 3,507 pixel scan produces a page around 34 × 49 inches.
On screen this is invisible, because readers fit each page to the window. When printing image-sized pages, set the dialogue to Fit to page rather than 100% or "Actual size", or the page will be cropped or split across sheets. Scaling down is not a quality loss — it concentrates the same pixels into a smaller area, which is exactly what you want.
Most printers cannot print to the very edge of the paper, so keep a margin of 5–10 mm. Image-sized pages have no margin and can differ in size, which can confuse printer drivers — another reason to prefer A4 or Letter for print.
What you will not get
Being explicit about this saves disappointment.
- No searchable text. The pages are pictures. You cannot select, copy, or search the words, and screen readers cannot read them — which makes the document inaccessible to anyone relying on one. Making a scan searchable requires optical character recognition, which Workbench does not perform.
- No automatic cropping, deskewing, or contrast adjustment. Do that at capture, with a scanning app.
- No compression. The tool does not reduce image quality to shrink the document. Control size through your capture settings and format choice instead.
- No editing of the picture itself. You can reorder, rotate, and remove images before building, but not crop or straighten them.
- No page numbers, headers, or captions. Each page holds one image and nothing else.
If you need a searchable document — a contract you will quote from, records that must be findable later, anything that must be accessible — use OCR software or a scanning app that offers it, and treat this tool as the step for documents that only need to be read, printed, or filed.
Check before you send
- Every page present, and in the right order.
- No page upside down, sideways, or photographed twice.
- The smallest text legible when you zoom to 100%.
- No shadow or glare covering anything that matters.
- Nothing caught in frame that should not be there — the rest of the desk, an unrelated document underneath, a reflection in a glossy page.
- File size sensible for how you are sending it.
Open the finished PDF and page through it once. It takes a minute and catches the mistakes that are embarrassing to discover after submitting.
Takeaway
- Capture is the step that decides quality, and it is the one step no later tool can fix.
- Use your phone's document scanning mode — perspective correction and contrast adjustment are exactly what a plain photo lacks.
- Aim for roughly 300 PPI across the page: fill the frame, keep the focus sharp, and avoid heavy cropping afterwards.
- Save as JPG for photographed pages, keep captures consistent, and add images in page order.
- The result is a readable, printable document — not a searchable one. Searchable text needs OCR, which this tool does not do.